Kayak fishing has surged in popularity over the last few years. It combines the serene tranquility of kayaking with the thrill of fishing. With advancements in technology, anglers are now turning to fish finders to enhance their kayak fishing experience. If you've recently purchased a fish finder but are unsure about the installation process, fear not! Here's a comprehensive guide on how to install a fish finder on your kayak.

Why Install a Fish Finder on Your Kayak?
Before we dive into the installation process, let's touch upon why having a fish finder on a kayak is a game-changer. These electronic devices detect the underwater reflections of fish, helping anglers to:
- Locate schools of fish: No more relying on pure luck.
- Determine water depth: Crucial for fishing at optimal depths.
- Determine water temperature: Water temperature can be crucial when honing in on fish activity.
- Study underwater structure: Identify underwater structures where fish like to hide.

What You'll Need:
Before starting the installation process, ensure you have the following:
- Fish Finder (transducer, display screen, and cables)
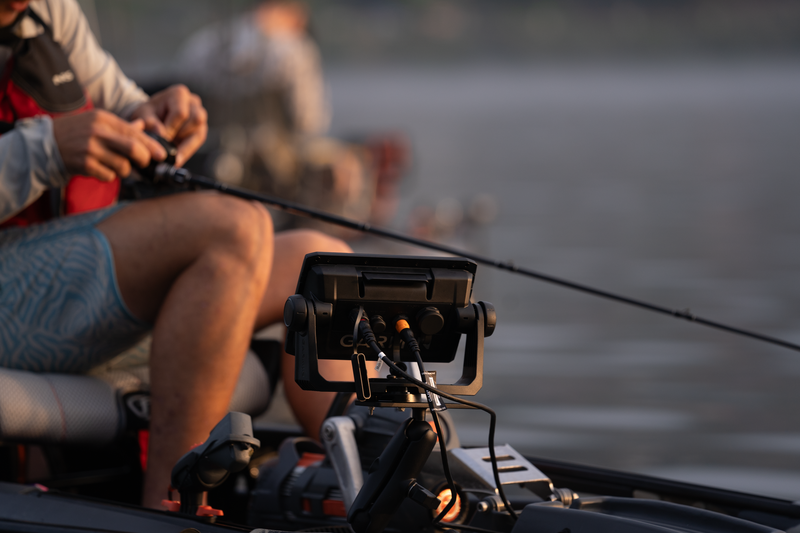
We recently opted for the Garmin 73SV as we find that Side View is a must-have for how we fish. Side view allows you to see structure on both sides of you. Side view lets you see and cast to structures such as lay downs, weed lines, rocks, and ledges.
- Mounting hardware (often included with the fish finder)
- Waterproof silicone or marine sealant
- Drill and drill bits
- Cable ties or Velcro straps
- Battery and waterproof battery box
Transducer Placement: This is the part of the fish finder that sends and receives sonar waves. The placement is crucial for accurate readings.
- Through the Hull: The Dorado v2 offers complete transducer integration as it deploys through the center portion of the hull.
- Arm-mounted: An external arm from the kayak rail holds the transducer. It’s ideal for those not wanting to drill or make permanent changes to their kayak. This option works great on our Lure Series and Moken Series.
Display Screen Placement: Ensure it's within arm's reach and where you can easily view the screen without straining.
Installation Steps:Step 1: Mounting the Transducer
- Through the Hull: Clean the chosen spot inside the kayak. Apply a generous blob of waterproof silicone or marine sealant. Press the transducer onto it, ensuring no air bubbles are trapped. Let it dry as per sealant instructions.
- Arm-mounted: First, you will want to select the transducer mount you would prefer. We like a few of the Yak Attacks options. In addition, you will want to purchase these rail adaptors to allow the Yak Attack accessories to be mounted on the kayak.
Step 2: Mounting the Display Screen
- Identify a convenient spot close to you. This could be on the pod or using a rail mount system.
- Use the mounting hardware to attach the display screen. Ensure it's tight and won't move around when paddling.
Step 3: Running the Cables
- Neatly run cables from the transducer to the display screen. Ensure there's no excessive slack.
- Use cable ties or Velcro straps to keep the cables organized and prevent them from getting caught while paddling.
- Remember, keeping cables neat improves the kayak's aesthetic and safety.
Step 4: Setting up the Battery
- Place the battery inside a waterproof battery box for protection. If you have a Dorado, you can run your fish finder off the same battery as your drive.
- Connect the fish finder's power cable to the battery, ensuring a snug fit.
- Secure the battery box within the kayak, ensuring it won't move around during transit or fishing.
- We recommend that you check out YouTube and learn the ins and outs of your personal fish finder. Things like Active Captain, color gradients, and screen settings will help you save time on and off the water.
- Regularly check all connections for wear and tear. Saltwater, in particular, can be corrosive.
- Keep your display screen clean for the best visibility.
- Update your fish finder's software (if applicable) to benefit from the latest features and improvements.
Having a fish finder on your kayak is a revolutionary way to improve your fishing game. It provides real-time insights into the underwater world, ensuring you're always in the best position to catch fish. While the installation may seem daunting, following this guide will ensure a smooth and efficient process. Remember, the key is to plan your installation, take your time, and ensure all components are securely fastened. Happy fishing!
________________________________________________________________________
Jake's Kayak Fishing Setup: